
Setup & Settings
Connection and discovery, multi-device, unlock, timecode, and device settings.
Guides: Give every band member their own monitor mix · Use your phone or tablet as a REAPER remote control · Make a button for any REAPER action, custom action or script · Use several phones and tablets with one REAPER · The Unlock button does nothing or says Check again · Install the extension into a portable REAPER · Install the MixSurface extension on Linux · Connect over a USB cable instead of Wi-Fi · Choose a tablet for MixSurface
Install the free MixSurface REAPER extension#
FreeOne-time setup step on the computer running REAPER, required before the iPad app can find or control your session.
How to use
- On the computer running REAPER, go to mixsurface.app/setup and download the build for your platform (macOS or Windows).
- macOS: unzip, then double-click the .pkg installer and follow the prompts.
- Windows: unzip, then copy reaper_mixsurface.dll into %APPDATA%\REAPER\UserPlugins.
- Fully quit and reopen REAPER once after installing.
Tips
- It’s a single file, no companion background process to keep running.
- The download link always points at the latest build.
Enable MixSurface as a control surface in REAPER#
FreeRegisters the installed extension with REAPER so it starts listening for the iPad app, a one-time step per machine.
How to use
- In REAPER, open Preferences (Cmd+, on Mac / Ctrl+P on Windows).
- Go to Control/OSC/web.
- Click Add, choose MixSurface from the list, and click OK.
- If MixSurface isn’t in the list, quit and reopen REAPER once, then try Add again.
Tips
- REAPER remembers this across restarts. You only do it once per machine.
Connect your iPad to REAPER#
FreeFinds REAPER automatically over the local network and connects with a single tap, no IP addresses to type in.
How to use
- Put the iPad on the same Wi-Fi as the computer running REAPER (a USB cable to the Mac also works, as it’s just another network path).
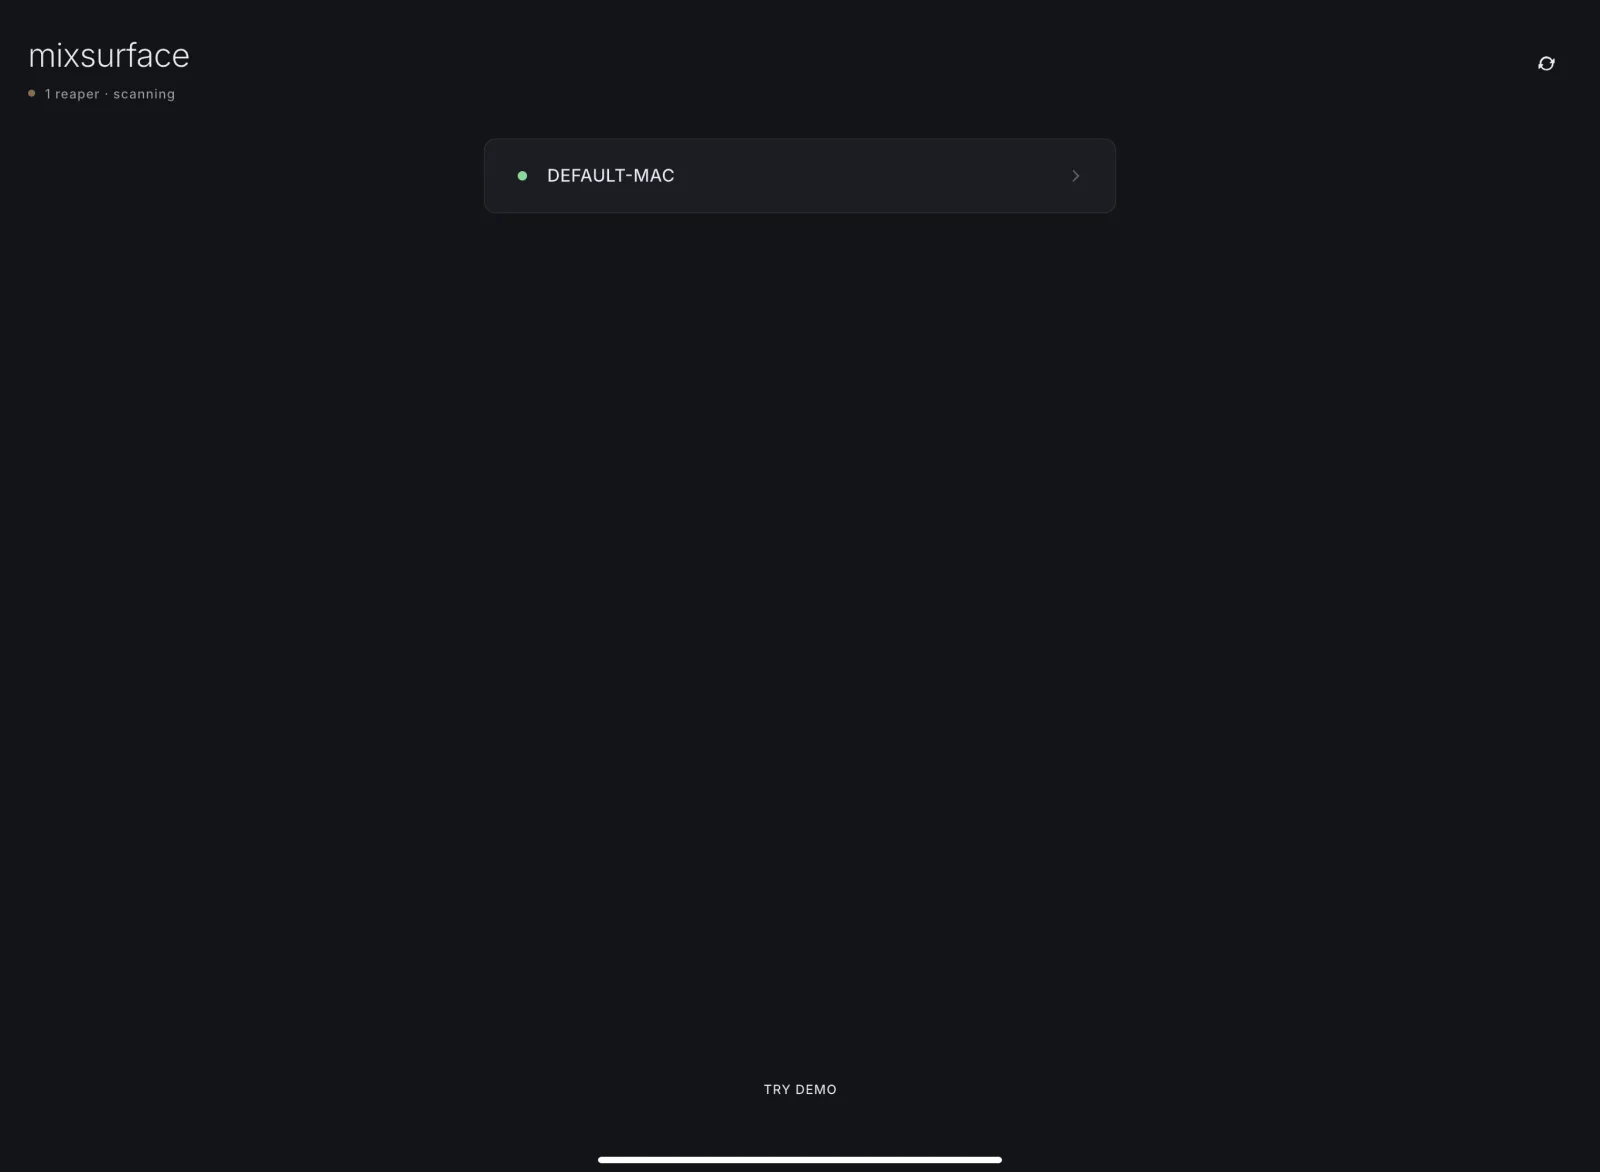
- Open the MixSurface app. It scans via Bonjour/mDNS and lists every REAPER it finds.
- Tap the instance you want to connect to.
- On first launch, allow the Local Network permission prompt when iOS asks.
Tips
- Discovery self-heals if the computer’s IP changes mid-session, no manual refresh needed. If a REAPER you expect still doesn’t show up, tap the refresh icon at the top of the list to force a fresh scan.
- Guest Wi-Fi / some corporate networks block device-to-device discovery; use a normal home/studio network.
Connect by IP when discovery fails#
FreeAn escape hatch for networks that block automatic discovery: type the computer's IP address and connect directly, using the same probe-gated connect as the auto-discovery path.
How to use
- On the connection screen, tap the plus icon at the top right (next to refresh).
- Type the IP address of the computer running REAPER, for example 192.168.1.20.
- Leave the port at 24780 unless you run multiple REAPER instances with a port offset.
- Tap Connect. MixSurface runs the same connection check as auto-discovery and connects if REAPER answers.
Tips
- Not sure of the IP? Expand “Where to find your computer’s IP” in the sheet. On Mac it’s under System Settings > Wi-Fi > Details next to your network; on Windows under Settings > Network & internet > Wi-Fi > network properties, or run ipconfig in Command Prompt.
- Discovery is still the front door. Only reach for connect-by-IP when a REAPER you expect never shows up in the list, which usually means the network is blocking device-to-device discovery (guest Wi-Fi, some VPN routers, AP isolation, venue networks).
- The last IP and port you connected to are remembered and prefilled next time.
- Once connected, MixSurface remembers the target and reconnects automatically when the computer is reachable again, connecting straight back to that IP without waiting to rediscover it.
Reconnect automatically to your last REAPER#
FreeOnce you've connected to a REAPER instance, MixSurface remembers it and reconnects the moment it becomes reachable again, without you re-picking it from the list.
How to use
- Connect to a REAPER instance once. MixSurface remembers it.
- Put the iPad to sleep, background the app, or let REAPER restart.
- Reopen or foreground MixSurface. It probes for that REAPER every few seconds and connects the instant it answers, showing a “Waiting for…” row until then.
Tips
- Tap Cancel on the “Waiting for…” row to forget that instance and go back to the full discovery list.
Disconnect from REAPER#
FreeCleanly leaves the current REAPER session and forgets it, so the app won't try to auto-reconnect, useful when switching to a different studio or computer.
How to use
- Open the overflow (kebab) menu in the top toolbar.
- Tap Disconnect.
- You land back on the connection screen; the next tap starts a fresh search.
Get told when your REAPER extension is out of date#
FreeThe app updates itself through the store, but the REAPER extension is a manual download. When they drift apart, MixSurface shows a notice so you know to grab a fresh extension.
How to use
- Connect the iPad to REAPER as usual.
- If the extension on the computer is older than this app version needs, a banner appears at the top: either “update available” (most things still work) or “incompatible” (time to update now).
- Tap “How to update” to open mixsurface.app/setup, download the latest extension, install it, and fully restart REAPER.
Tips
- The app auto-updates through the App Store; only the REAPER extension is a manual download, so this notice is your cue to refresh it.
- Dismiss the banner and it stays gone for the rest of that session. A reconnect re-checks and reminds you if it’s still out of date.
Unlock Channel Detail, EQ, and Control View#
FreeA single one-time purchase (no subscription) that permanently unlocks the plugin-control channel strip, the multi-touch EQ, Control View, templates, and action buttons on this device. The mixer and layers stay free forever.
How to use
- Tap any locked tab (Channel Detail or Control View), or open the kebab menu → Settings → Purchase → Unlock MixSurface.
- Review what unlocking adds, then tap the Unlock button. It carries the live price from your store account.
- Complete the system purchase sheet.
- The app unlocks immediately and returns you to where you tapped.
Tips
- It’s a one-time purchase, not a subscription. Pay once, keep it forever on that store account.
- If purchases are turned off on this device, the button reads “Check again” instead of a price. On iOS that is usually Settings → Screen Time → Content & Privacy Restrictions → In-app Purchases, or a device managed by an employer or school. Lift the restriction, tap “Check again”, and the button turns back into a purchase.
- Anything you already own stays unlocked, whatever the store currently says.
Restore your purchase on a new device#
FreeRe-applies your existing MixSurface unlock on a new or reinstalled device, no need to buy it twice on the same store account.
How to use
- Open the kebab menu → Settings → Purchase, or the Unlock screen.
- Tap “Restore Purchases”.
- If you own the unlock, it re-applies immediately and the app confirms it.
- If nothing comes back, the app tells you so rather than going quiet. Sign in with the store account you bought it on and tap Restore again.
Tips
- The app also looks for an existing purchase on every launch, so a reinstall usually restores itself before you get here.
- A restore that cannot reach the store reports that too. It never leaves the button looking like it did nothing.
Try MixSurface without REAPER (Demo mode)#
FreeExplore the whole app (mixer, EQ, plugin templates, GR meters) on a simulated session with no REAPER installation required, ideal for evaluating before you install anything.
How to use
- On the connection screen, tap “Try demo” at the bottom.
- Browse the mixer, Channel Detail, EQ, and Control View exactly as if connected to a real session.
Tips
- Demo sessions are capped (limited tracks/templates) and never touch a real REAPER project.
Use MixSurface from more than one tablet at once#
FreeTwo or more tablets can connect to the same REAPER session simultaneously. A fader move, mute, or plugin tweak on one shows up live on every other connected device, so a FOH iPad and a monitor-engineer iPad can share one rig.
How to use
- Connect a second (or third) tablet to the same REAPER the same way as the first, just pick it from the discovery list.
- Move a fader, mute a track, or edit a Control View page on one device.
- Watch it reflect on every other connected device almost instantly.
Tips
- Each device keeps its own bank/page selection. Only the underlying REAPER state and anything you author (templates, layers, Control View pages) is shared.
Run MixSurface against a second REAPER instance#
FreeLets two REAPER instances on the same machine (or a live rig alongside a studio rig) run MixSurface side-by-side without port clashes, each showing up as its own named entry on the iPad.
How to use
- In REAPER’s Add Control Surface dialog (Preferences → Control/OSC/web), open MixSurface’s configuration field.
- Type a config string like
port_offset=100 instance_name=studioto shift that instance’s ports and give it a name. - Repeat for the other instance with a different offset.
- On the iPad, each instance now appears in the discovery list labeled with its instance name, e.g. “Mac (studio)”.
Tips
- port_offset shifts the UDP/HTTP/TCP ports together. Use a different offset per instance so nothing collides.
- Skip this entirely for a single-REAPER setup; it works with zero configuration out of the box.
Settings are grouped into General, Mixer, Control View, Toolbars, Purchase and About & support, so you go straight to the one you want. On iPad the categories sit in a sidebar next to their settings.
How to use
- Open Settings from the top-bar kebab.
- On iPad, the categories are in a sidebar on the left. Tap one and its settings appear on the right.
- On a phone, tap a category to open it. Use the back arrow to return to the list.
- Tap the back arrow on the main Settings screen to return to the surface.
Tips
- General has the device settings: keep screen awake and immersive fullscreen.
- Mixer has channels per layer and solo mode. Control View has page navigation and reorder on collision.
- Toolbars lists every bar with the preset this device uses, and your presets. Tap a bar to customize it.
- Purchase has Unlock and Restore Purchases.
- About & support shows the app version, the extension version and the computer you are connected to. Have them handy when you report a bug, and send your logs from the same page.
The device never dims or sleeps while MixSurface is in front, so the surface is still there when you glance back at it. On by default.
How to use
- Open Settings from the top-bar kebab and tap General.
- Find “Keep screen awake”. It is already On.
- Tap it to switch it Off if you would rather the device slept on its normal schedule.
Tips
- It is On by default because a surface you glance at between cues is useless if the screen has gone dark. Turn it off to save battery when you are not on a show.
- Switching to another app, or locking the device, releases it immediately. The screen only stays awake while MixSurface is actually in front.
- The setting is remembered on the device. If you had already turned it off, it stays off.
Give the surface the whole screen and keep system buttons away from the edge you are reaching across. On by default.
How to use
- Open Settings from the top-bar kebab and tap General.
- Find “Immersive fullscreen”. It is already On.
- Tap it to switch it Off if you would rather keep the system bars visible.
Tips
- On Android this hides both the status bar and the navigation bar, so there are no system buttons along the edge to catch with the side of your hand mid-fader. Swipe in from an edge to bring them back for a moment; they hide themselves again.
- On iPhone and iPad it hides the status bar and fades the home indicator. There is no navigation bar on iOS, so you reclaim less height, and the swipe-up home gesture keeps working either way.
- The setting is remembered on the device and applies to every screen.
Choose what each bar shows and where: add, remove and rearrange buttons on the Mixer, Channel, Control View and Arrange top bars and the Arrange edit bar. Your first change saves your own copy, so the Default bar is always there to go back to.
How to use
- Open More (⋮) on the bar you want to change and tap Customize toolbar…. You can also go to Settings, Toolbars and tap the bar.
- Tap ⊖ to remove a button.
- Hold a row and drag it to move it. Drag it past the Left, Center or Right heading to move it to that part of the bar. Drag it under More menu ⋮ to keep it only in the More menu; drag it back up to put it in the bar.
- Scroll down to Add and tap a button, a Separator or REAPER action… to add it at the end of the bar.
- Tap a row to choose how it shows: icon, text, or icon and text. Turn on Keep in bar to make it the last thing to fold into More when the bar gets narrow. Tap Done to keep it.
- Watch the preview at the top: it is the real bar at this screen’s width. A row marked “Folds here on this iPad” (or iPhone, Mac) does not fit at this width and is in More; tap the mark to open the item and keep it in the bar.
Tips
- Changes save as you make them. There is no Save button.
- Changing the Default bar saves your own copy, named after the bar (for example “Mixer top bar”), and this device switches to it. Default itself never changes.
- To go back, pick Default in the Preset menu at the top of the editor.
- Use + New preset… to start from an empty bar or from a copy of another preset.
Toolbar presets are saved on the REAPER computer, so every tablet, phone or desktop connected to it can use them. Each device picks its own preset for each bar.
How to use
- Open Settings and tap Toolbars. Each bar shows the preset this device uses for it.
- Tap a bar, then pick a preset in the Preset menu at the top. Only this device changes.
- Under Presets, rename, duplicate or delete a preset.
- On another device connected to the same REAPER computer, open the same bar and pick the preset there.
Tips
- An edit made on one device shows up on every device using that preset.
- If the REAPER computer you are connected to doesn’t have a preset this device uses (it was deleted, or you switched to another computer), the bars that use it show Default and you get a notice. This device remembers its choice, so the preset comes back when you connect to a computer that has it.
- Presets need extension 0.1.17 or newer. With an older extension every bar shows its Default.
- While disconnected you can still switch between the presets this device already knows, but not change them.
Put any REAPER action, including custom actions and scripts, on a bar as a button. You pick it by running it in REAPER.
How to use
- Open the toolbar editor for a bar (More, then Customize toolbar…).
- Scroll to Add and tap REAPER action….
- When the sheet says “Run the action in REAPER now”, run the action in REAPER: from a shortcut, a menu or the Actions list.
- The action is added to the end of the bar and its details open.
- Give it a short label and pick an icon, then tap Done.
Tips
- Tap Cancel on the sheet to stop without adding anything.
- If the action is already on the bar, its row is highlighted instead of adding it twice.
- Toggle actions light up in the bar when they are on.